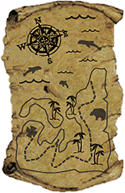
 You stand with your friend in front of the skull shaped rock clutching your treasure map and shovel. It’s been a long time getting here, but you are minutes away from being rich! You count out forty paces North, turn and count off sixty paces West before planting your spade in the dirt. Two hours later you and your companion have a six foot deep hole with nothing at the bottom.
“Try it again, maybe you miscounted,” he says.
So you start again and find yourself five feet from your first hole. Newly determined, the two of you dig again only to find nothing but dirt at the bottom of the hole.
Five more trips yield five more holes scattered a few feet from the first.
Sweating and frustrated you toss the map to your friend, “OK, you try it!”
He paces off the distance only to find himself a good twenty feet from the center of your batch of holes. Yeah, he’s a foot taller than you are, so of course he’s way over there…
You throw your shovel down in disgust. Just how tall was the pirate who left these instructions? Did he stride purposefully, or take more measured steps? And why the hell didn’t he just tell you how far it was in feet?
So you head home to bake a cake instead. At least that’s a simple task with no hidden traps. Let’s see 2-½ cups flour…
Ah, but just as a pace is not a pace, a cup is not a cup. Flour is a compressible solid that is every bit as variable. Do you sift the flour into the measure cup? Do you spoon it in? Or do you dip the cup in the flour bin before leveling it off? You can pack anywhere from 3-6 ounces of flour in a cup depending on the method. And just as you ended up with dirt at the bottom of your hole, you can end up with a failure at the end of baking if you miss by enough.
Like our pirate, a lot of cook book authors don’t bother to tell you how they measure their flour, and when that happens you are likely to fail. Even if you know the method you may miss the mark by enough to make a difference since the amount varies a bit each time you try. It’s just not a reliable way to measure. Why can’t they just tell you how many ounces (or grams) of flour and eliminate the imprecision and guesswork?
They do in Europe, but American publishers long ago decided that weight measures would scare buyers away. In fact they are so adamant that getting weights printed alongside volume measures requires a great battle by the author. Apparently we are all timid creatures that have to be protected from anything that even hints of math.
The irony is that the publishing industry is protecting us from the best possible method. It:
- Is far more precise;
- Doesn’t waste ingredients; (Instead of trying to coax corn syrup or honey out of a quarter cup measure just squeeze the amount you want directly into the bowl with your other ingredients.)
- Creates less mess; (How many times do you have to stop to clean your measuring cups in a single recipe? You can zero out the display and keep adding ingredients to the same bowl.)
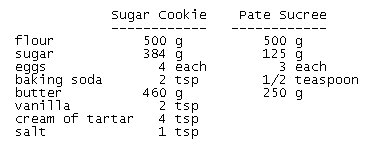
- Scales easier; (Would you rather divide 4.0 oz or 1 1/8 cups in half? How about trying to measure half an egg by volume? It’s just 25g by weight.)
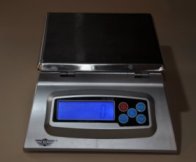 There may have been an excuse for this prejudice years ago when your choices were between cheap spring scales or more difficult to operate balance scales, but now we have inexpensive and very easy to use digital models. You can find them at your local kitchen supply stores and you can get them mail order. My favorite company for accuracy, ease of use, and price is “My Weigh” (I don’t own any stock). They manufacture their own scales which means they can react quickly to customer feedback and also keep cost down. For years I used the slim-line model 700DX postal scale. When the LCD started to die I upgraded to the stainless steel KD-8000 which includes bakers percentage calculations. There are so many inexpensive yet accurate scales available that there is no longer any excuse not to own one.
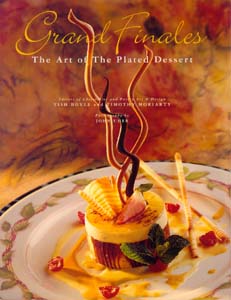
 Unfortunately, James Peterson is every bit the pirate with the publishing of his new book “Baking.” Not only does he omit weight measures, he fails to mention the method he uses to fill his measuring cup. The advertising blurb touts this not only as a baking course for the novice, but also for the experienced baker. Well, the novice is in for a great deal of frustration because he won’t have any idea he is using half or double the amount of flour called for. Instead he will blame himself for one failure after another, especially when the detailed descriptions of technique seem to leave nothing to chance. Experienced bakers will likely fail the first time or two, but will then have some idea how far off they were by the end result. After a number of trials they can dial in on the correct amount and record the weight. However it is more likely they will note the lack of precision measures and take a pass on the book.
What makes this so surprising is that James Peterson is a professional who knows the value of weighing flour. He wrote it as a specific tip in “What’s a Cook to do?” and repeated it in “Cooking”. So why leave it out of “Baking,” the one book that most requires it?
I wrote him twice inquiring what the gram weight of his cup was for each of the two flours he specifies in the book. But both times he failed to reply. I followed up with a letter to the publisher, but they too remained silent. Like our pirate, he seems determined to take the knowledge to his grave.*
It’s a real shame as the book has expansive (and likely expensive) photo spreads to document technique. I will likely consult it for technique, but since I can’t use his recipes this won’t be my main text.

 At the other end of the spectrum is Rose Levy Biranbaum, best known for “The Cake Bible”. If it were up to her, she would publish only weights. She was persuaded by her publisher to include volume measures, but not only does she take pains to describe how best to fill the cup to obtain as precise an amount as possible, she gives a very good argument as to why the baker should purchase as scale and use it. The combination of Rose’s “Cake Bible,” “The Pie and Pastry Bible,” and “Rose’s Heavenly Cakes” might make a comprehensive course, but I’m looking for a single tome. I will be consulting these heavily as secondary texts as I go along.
The great French Pastry Chef, Pierre Herme, sits at the far end. His books were written for the European audience and dispense with volume measure completely. “The Pastry of Pierre Herme” is more a destination than a guide book, so I’ll get to those recipes later.

 “The Secrets of Baking” by Sherry Yard and “Bakewise: The Hows and Whys of Successful Baking” by Shirley Corriher are two more books that I will consult for technique or trouble shooting, but don’t quite strike me as a good basic class text.
 Bo Friberg’s “The Professional Pastry Chef” is a huge encyclopedia of recipes and technique, weighing in at just over a thousand pages. Like the books above it isn’t organized as a pastry course, and I’m afraid that I’d be at this forever if I attempted to bake my way through it. Instead I will use it more like an encyclopedia and consult this book as I go along.
 That leaves me with “The Fundamental Techniques of Classic Pastry Arts” by the chef’s at The French Culinary Institute. Respected author Dorie Greenspan calls it “A complete course in the classics of French patisserie,” while Matt Lewis and Renato Poliafito proclaim “The kind folks at The French Culinary Institute have managed to distill an entire pastry program into one complete reference book,” and promise “It is a whole lot less expensive than pastry school and every bit as comprehensive.”
That’s quite an endorsement.
This is the book that feels most likely to have a full and balanced curriculum. It’s authored by a number of chefs at a well respected school so it’s less likely to suffer from the weakness of any single person. It uses weight measures, and the metric system (grams) at that.
It even feels like a text you might be assigned upon entering their program. Instead of chapters it has “Sessions”, and just like my time at the French Pastry School the recipes are called “Demonstrations.”
Opening my text, I find my first assignment is some background reading for the first two sessions before I get to start baking:
Session 1: “An Introduction to the Professional Pastry Kitchen: Basic Principles and Terms”
Session 2: “Ingredients Commonly Used in Pastry Making”
Pie and tart dough has quite a reputation for difficulty, but that’s the first baking task:
Session 3: “Tartes: An Overview of Basic French Tart Doughs”
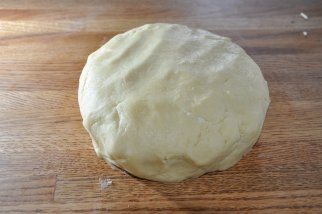
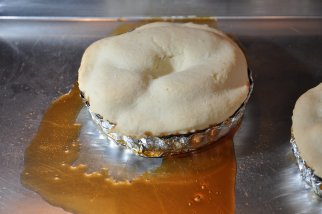
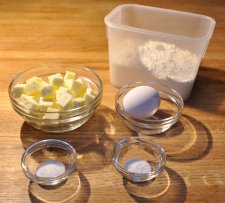
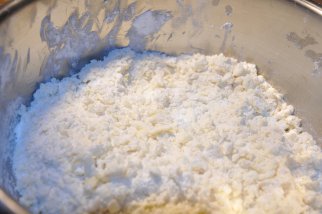
Next up, I tackle Pate Brisee and make an apple tart.
* I later found he specified the dip and sweep method in “Cooking”, and went so far as to mention his cup was 5 ½ ounces. Why couldn’t he repeat this in “Baking?” The first tart recipe is similar enough between the two books that it appears it caries over into the new book. Given the casual disregard for such an important point I’m reluctant to use it as my main guide for fear he left out something else just as critical.
